BBR · Checklist and evidence navigator
Beginner bicycle maintenance checklist: what does your bike need today?
Do not memorize a giant service calendar. Start with the moment—before a ride, after weather, a deeper check, storage, or a new symptom—then inspect in a safe order and route any failure to the right diagnosis.
A focused decision path for this exact job. Verify fit and safety details against the current maker instructions.

What does your bike need today?
Build the checklist from the situation
Choose when you are checking and what is fitted. The board changes the order, exposes stop conditions, and links a failed observation to the specific guide already built for it.
Your maintenance board
Two choices create the task order
No generic checklist yet
A bike being restarted after storage needs a different sequence from a bike that just came through rain. Choose both inputs so frequency does not erase condition.
Timing without fiction
The routine has triggers. The service interval belongs to the exact component and use.
Four maintenance moments—not one universal calendar
01
Before every ride
Air and tire containment; wheel retention; brakes; frame, steering and controls; drivetrain; cargo, lights and a cautious low-speed test.
A short observation pass. A failed or uncertain item becomes a diagnosis—not a checked box.
02
After wet, muddy or dusty use
Preserve evidence, clean by the component maker’s method, dry, inspect the chain and braking surfaces, then repeat safety checks.
Condition controls the work. Avoid pressure washing, brake contamination and generic spray-lube shortcuts.
03
A deeper home check
Measure wear, inspect fasteners and cables or hoses, log changes, then compare them with each component’s current service schedule.
Use this as a memory prompt, not a universal monthly replacement or lubrication interval.
04
After storage, impact or a new symptom
Restart from identity and safety. Inspect elapsed-time items, corrosion, batteries/electronics, suspension and the exact problem before a test ride.
Storage does not freeze aging; a crash or symptom overrides the routine.

The observation rule
Measure, compare, and record before you adjust
Beginners are often told to “check everything” or “tighten every bolt.” Those instructions erase the evidence and can create damage. First capture what changed: pressure, visible wear, movement, noise, warning code, cable position, elapsed hours, or a photo after impact.
Then compare the observation with the exact bicycle and component instructions. Adjust only when the procedure, tool, sequence, lubricant or thread treatment, and limit or torque are known. A measurement without the correct threshold is still unresolved.
A thumb squeeze can catch a nearly empty tire; it cannot create a reusable pressure log. A visual bolt check can find a gap; it cannot supply a torque value.
Evidence passport
Keep one maintenance record that survives the next symptom
| Record | What to capture |
|---|---|
| Identity | Bike make, model, year/variant, serial record, wheel/tire system, brake system, drivetrain, fork/shock and e-bike system. |
| Situation | Before ride, after weather, deeper check, storage restart, impact, symptom, or maker-scheduled service. |
| Observation | What you saw, heard, felt or measured—before cleaning, adjustment or disassembly changes the evidence. |
| Measurement | Cold tire pressure, wear reading, play, torque source, mileage/hours, battery warning, or other exact record. |
| Decision | Pass observed, monitor, diagnose now, do not ride, exact service required, or qualified mechanic. |
| Source | Current bicycle/component user manual, service document, safety notice, recall, or qualified inspection. |
| Parts and tools | Only the exact item and compatibility facts proven by the diagnosed job; otherwise record “blocked.” |
| Next trigger | Condition, elapsed time, mileage/hours, post-repair test, or maker interval—not an invented universal date. |
When a check fails
Leave the hub and enter the exact repair path
These focused live utilities are the reason this hub can stay short. Each one separates lookalike causes, shows the compatibility record, and blocks products until a need is proven.
Tires and air
Move from containment and cause to repair and exact sizing.
Brakes
Identify the brake and failure before adding tension or buying pads.
Chain and shifting
Separate wear, freehub, hanger, control-path and compatibility faults.
- Identify the kind of chain skip
- Choose a maker-controlled chain-care path
- Match chain-lube method before the bottle
- Measure wear and build a replacement passport
- Identify the rear sprocket system
- Build an exact cassette replacement passport
- Separate shifter repair from exact replacement
- Prove the derailleur failed
- Audit a hanger-alignment gauge job
- Locate shift-cable friction
Crank, pedals and bearings
Separate transmitted noise and preload from shell, spindle, tool and replacement compatibility.
Suspension and front end
Identify the fork, route damage or faults, and preserve a model-specific service handoff before parts or settings.
Workshop setup
Prove the repair or cleaning job, component interfaces, inflation role, pressure record, support, floor, owned supplies, and missing roles before buying workshop equipment or chemical bundles.
- Build a torque-wrench requirement passport
- Build a repair-stand fit passport
- Check wheel-truing-stand fit and ownership need
- Build a bare-rim, whole-wheel, rebuild, or stop passport
- Match a replacement spoke to the exact wheel, side, length, profile, and nipple
- Build a repair-or-replace wheel requirement passport
- Audit a beginner tool kit by planned jobs
- Audit cleaning roles, duplicate supplies, and kit ownership need
- Build a pump requirement passport
Wear is measured
A tool is useful only when it fits the component and decision
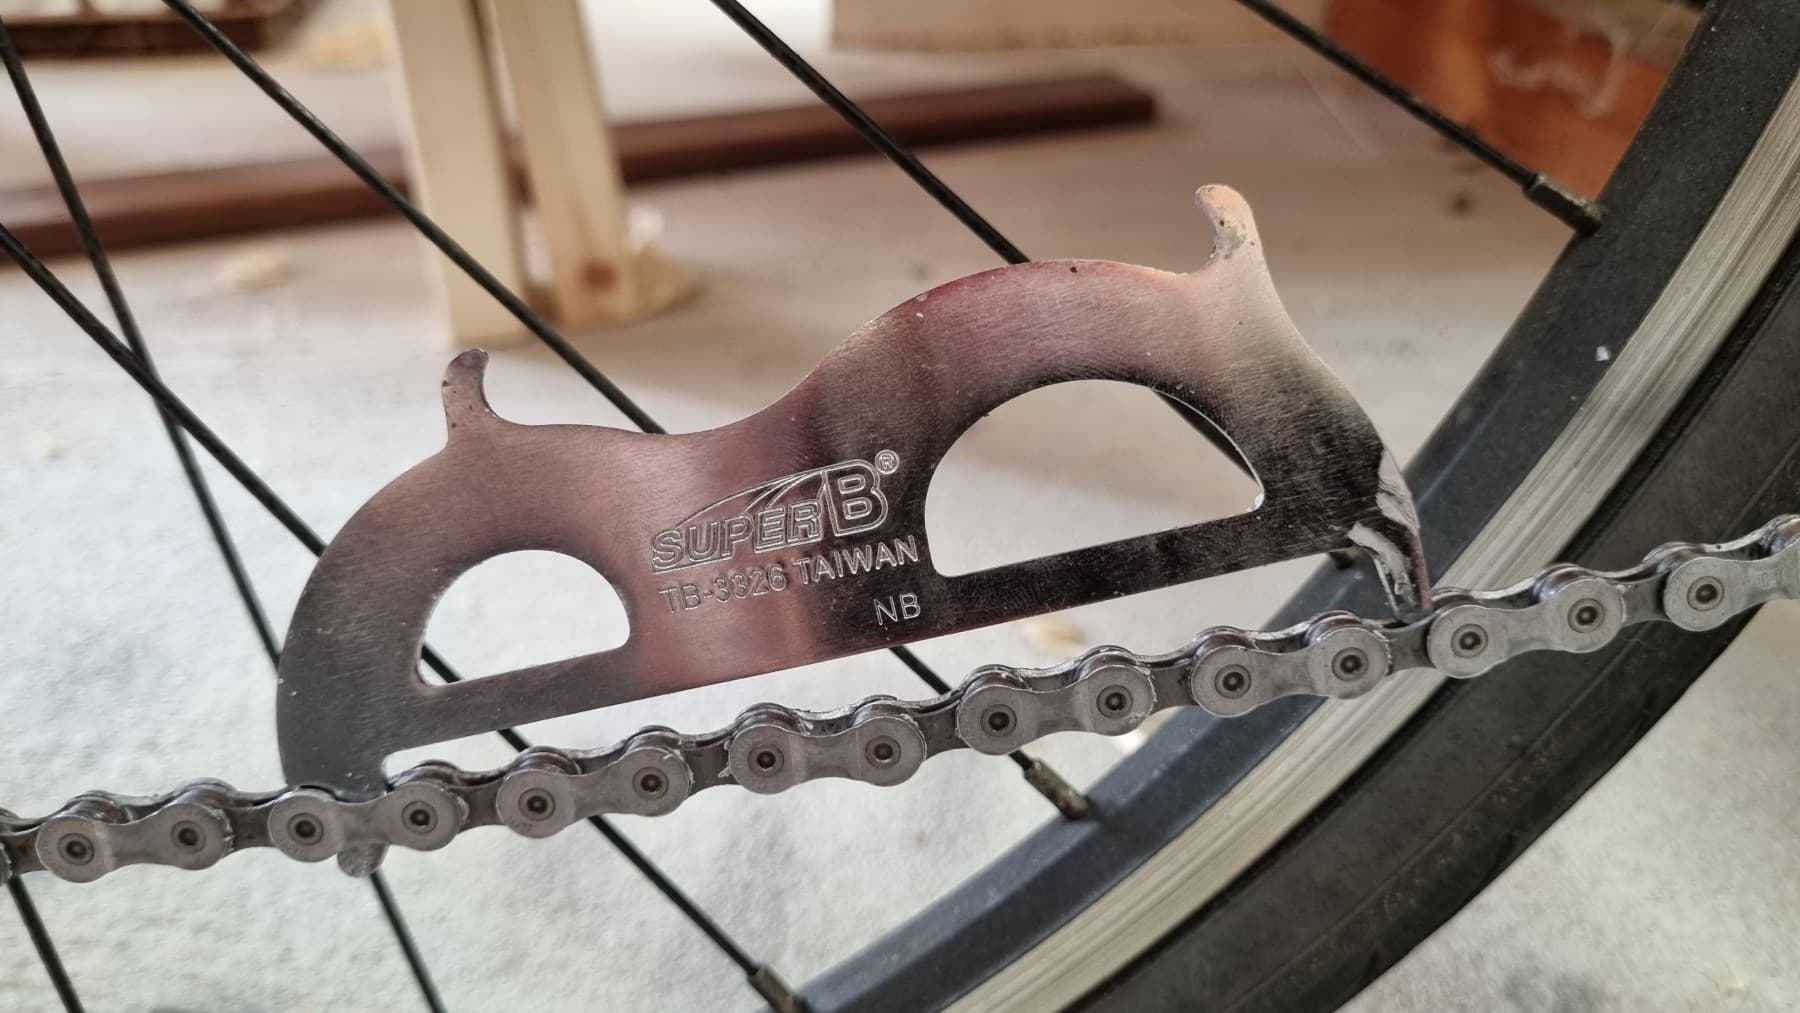
A chain gauge can answer a defined wear question. It cannot identify every chain, choose the correct threshold, diagnose a bent hanger, or prove that a cassette must be replaced. The same rule applies to pumps, keys, torque tools, cable cutters and tire levers.
The tools below connect to specific repair paths. The tool-kit audit compares published contents against the jobs you plan to do, while the chain-lube guide keeps method and timing conflicts visible.
.jpg)
Tools that earn their place
Build a small kit around the repairs you actually do
Start with the job, then confirm the bicycle and component details that make a tool suitable. The right small tool is better than a large kit full of parts you will never use.
Choose by the job
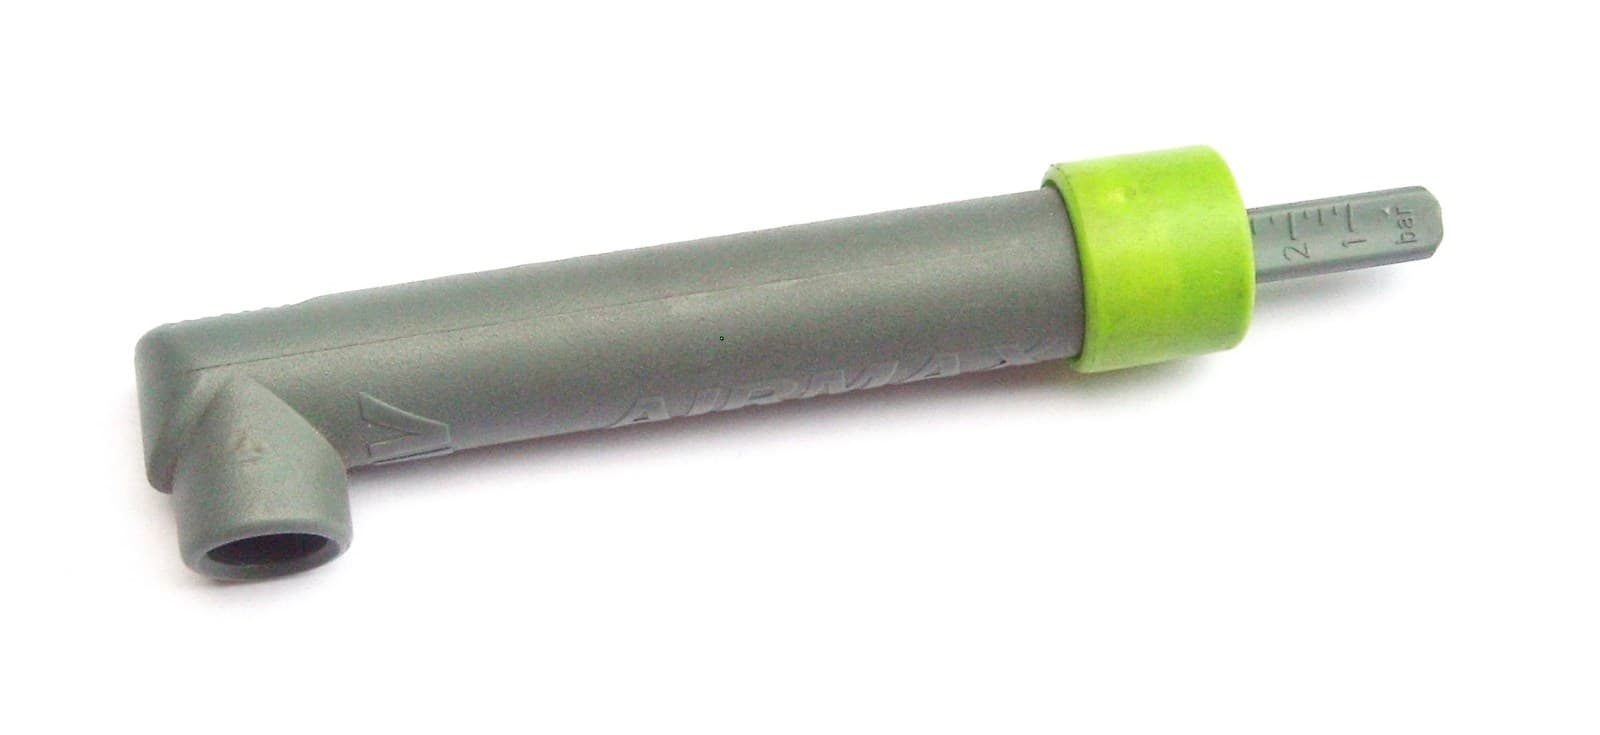
Floor · roadside · suspensionRole-matched tire pump
Confirm the valve, target pressure, and whether you need a floor, roadside, tubeless-chamber, or suspension setup before choosing a pump.
Confirm exact fit before ordering
Fix the leak
Clincher · tube repairTire levers and patch supplies
Use these for a conventional clincher and a repairable tube puncture. Tubeless, tubular, hookless, and damaged systems need their own maker instructions.
Confirm exact fit before ordering
Measure before replacing
Chain wear measurementChain wear gauge
Confirm the chain family and the maker’s wear threshold. A wear reading is useful evidence, but chain skipping can have other causes.
Confirm exact fit before ordering
Tighten with the right procedure
Fasteners · torqueHex keys and torque wrench
Match the bit, fastener, thread treatment, and published torque. A folding hex tool is not a torque substitute where the maker specifies a torque wrench.
Confirm exact fit before ordering
Build around your repairs
Planned jobs firstJob-audited bicycle tool kit
Start with the repairs you actually perform, record the component interfaces, and avoid buying duplicate tools or a kit with critical gaps.
Confirm exact fit before ordering
Clean, dry, then lube
Dry · wet · mixed conditionsMethod-matched chain lubricant
Clean and dry the chain according to the maker’s instructions, then choose a lubricant suited to your riding conditions and maintenance routine.
Confirm exact fit before ordering
Stop conditions
A checklist cannot make a failed observation safe
- A tire bead is displaced; casing is cut, bulged or exposed; a rim is damaged; or pressure will not hold.
- A wheel, axle, handlebar, stem, headset, saddle, crank, pedal, rack, child seat or other load-bearing part is loose or its retention procedure is unknown.
- Either brake cannot stop the bicycle, reaches the grip, leaks, is contaminated, is loose, or contacts the tire.
- The frame, fork, handlebar, stem, wheel, crank or another structural part is cracked, severely corroded, impact-damaged or making an unexplained new sound.
- The chain, derailleur, cable, housing, shifter or electronic control is damaged, jammed, skipping, or able to enter the spokes, wheel or frame.
- An e-bike battery is swollen, hot, impacted, leaking, smoking, unusually odorous or paired with damaged wiring or a serious system warning.
- A suspension unit leaks, binds, has abnormal play, shows deep stanchion damage or has an unknown safety-critical service state.
- Any check feels uncertain, conflicts with the current manufacturer instructions, or requires a professional-only service procedure.
Technical references
The checklist is a navigator; the exact manuals still control
- Cycling UK M-check and Trek pre-ride M-check — systematic pre-ride observation from rear wheel to front wheel.
- REI Bike Maintenance Basics — ABC inspection, wheel retention, bolt-torque boundaries, cleaning and lubrication cautions.
- Trek 2026 bicycle owner’s manual — current pre-ride and maintenance-schedule controls; any failed safety check must be fixed before riding.
- SRAM eTap AXS maintenance — cleaning, chain and e-bike power/service-mode safety boundaries.
- Bosch eBike battery care — charging, storage, cleaning, damage and no-user-repair boundaries for that battery system.
This page is a practical decision guide. It cannot inspect hidden damage, identify every bicycle or component, supply model-specific pressure, torque, fluid, lubricant or service intervals, clear a recall, or replace the current bicycle and component manuals or a qualified mechanic.