BBR · Cable and housing diagnostic
Bike shifter cable replacement—find the friction first
Bad shifting does not automatically mean “new cable.” Locate the failed link, preserve the route, match the exact inner wire, housing and fittings, then replace only the control path you can prove is damaged or dragging.
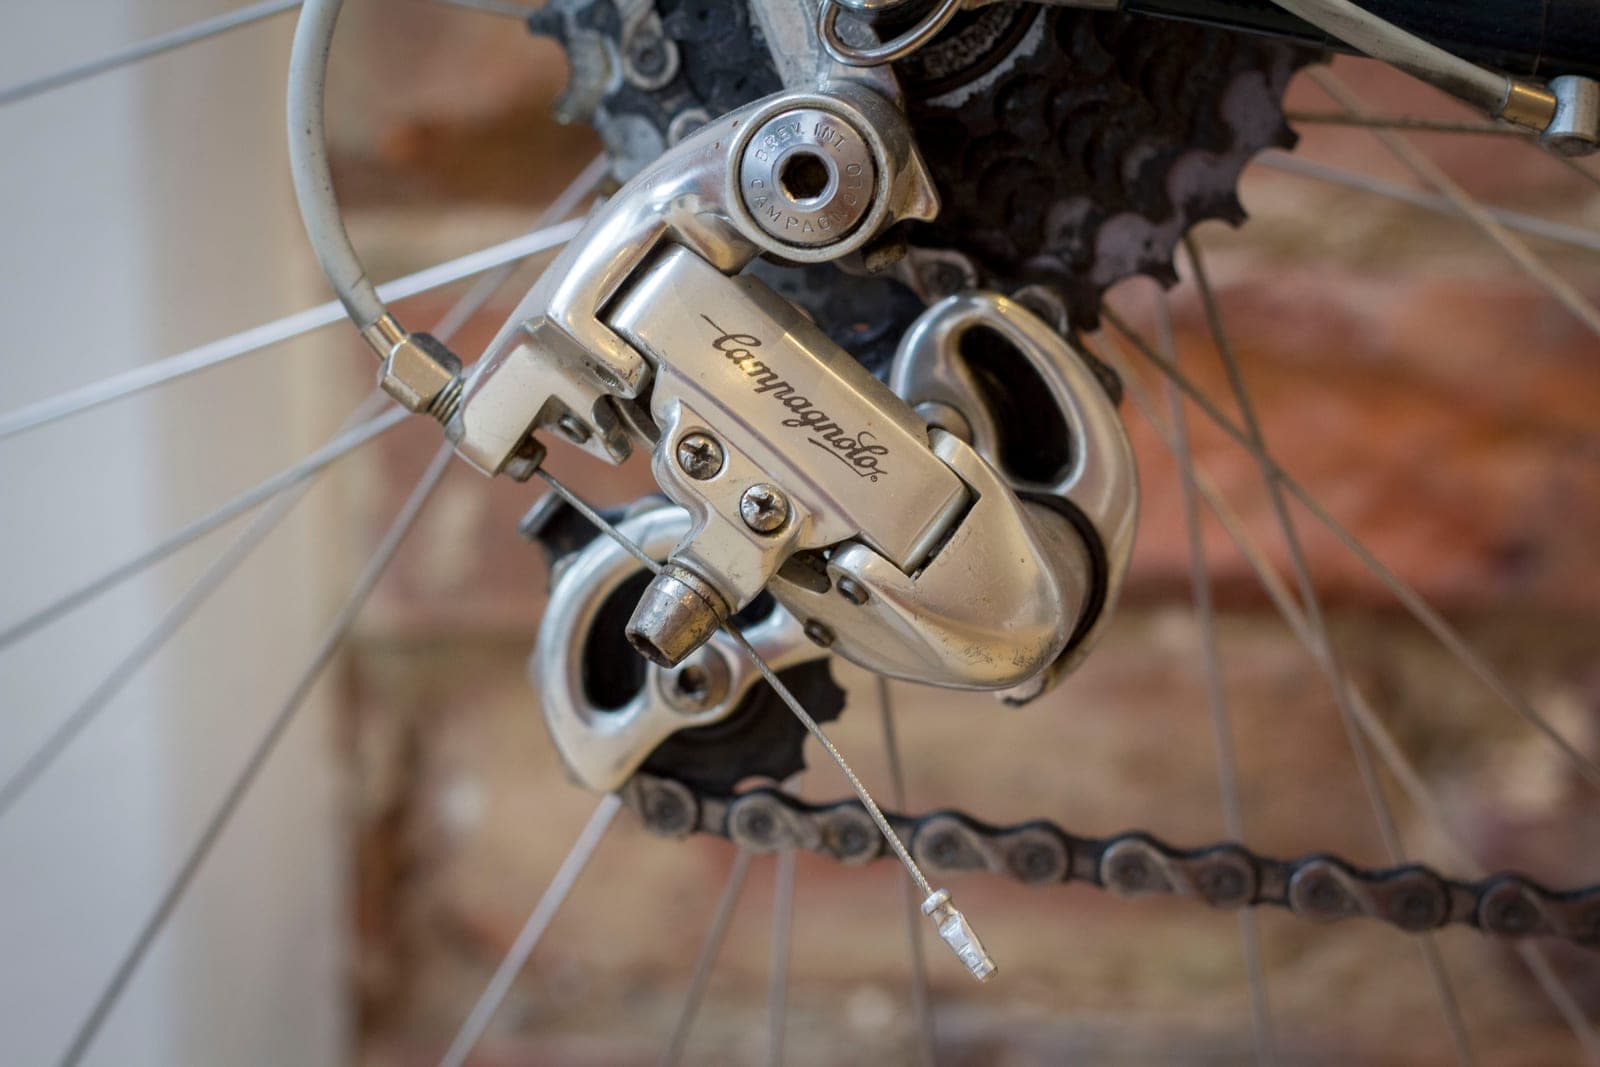

Where is the friction? · 2 decisions
Do not pull the old cable yet
First identify the control system, then the clearest symptom. The result tells you what to isolate, what must stay in place, and whether a cable, housing, tool, or no product is justified.
Six cable lookalikes
A symptom names a test—not a part
Shifter clicks; no gear movement
Broken/dislodged cable, loose clamp, blocked housing, failed shifter, or stuck gear mechanism
Watch the command path before buying.
Slow or stiff both ways
Housing friction, tight bend, contamination, damaged ferrule, shifter drag, or mechanism drag
Isolate one section at a time.
Some sprockets tune; others worsen
Wheel seating, bent hanger, incompatible drivetrain, or wear
Cable tension is not the first correction.
Cable slips at the fixing bolt
Wrong clamp route, wrong washer/groove, insufficient or excessive torque, damaged cable
Use the exact component drawing.
Visible fray near the shifter
Cable fatigue, shifter passage damage, sharp internal edge, or routing stress
Retrieve every strand and inspect the passage.
Housing moves or opens at a stop
Wrong ferrule, short housing, poor seating, damaged stop, or steering/suspension pull
Correct fit and routing before indexing.
Cable Check
Eight facts before a cable kit
“Universal” still has boundaries. Record the system, head, lengths, housing, fittings, route and fastening instructions before turning a category into a compatible product.
01 · Control system
Mechanical derailleur, internal-gear hub, electronic/wireless, or another model-specific mechanism
02 · Shifter identity
Brand, exact model/series, lever style, gear count, release position, cable access and cable-head specification
03 · Gear mechanism
Exact derailleur or hub model, fixing route, indexing method, return behavior and published cable procedure
04 · Inner wire
Shift—not brake—cable; head style, diameter, construction/coating, front/rear length and permitted lubricant
05 · Housing
Specified shift-housing construction and outside diameter, liner/coating compatibility and total segment lengths
06 · Small parts
Correct ferrules/end caps, sealed or open orientation, frame-stop fit, cable tip, liner, guide and adjuster
07 · Routing
Full, segmented or internal; bar-turn and suspension allowance; frame ports, guides, tight-bend limits and rub protection
08 · Fastening
Exact clamp side/groove, washer order, tool/fastener, torque and cable trimming/end-cap procedure
Do not interchange
Shift and brake systems do different jobs
Indexed shifting needs low-compression housing so each click produces predictable cable movement. Brake housing carries much higher safety-critical load. Never use smaller shift housing as brake housing, and do not assume a brake inner wire, cable head, ferrule or housing belongs in a shifter.
Shift path
Precision movement
Match the shifter’s cable head, the specified compressionless shift housing, fittings, liner/coating and length.
Brake path
Load containment
Use only brake cable and housing approved for the exact brake and lever. This page does not qualify brake parts.
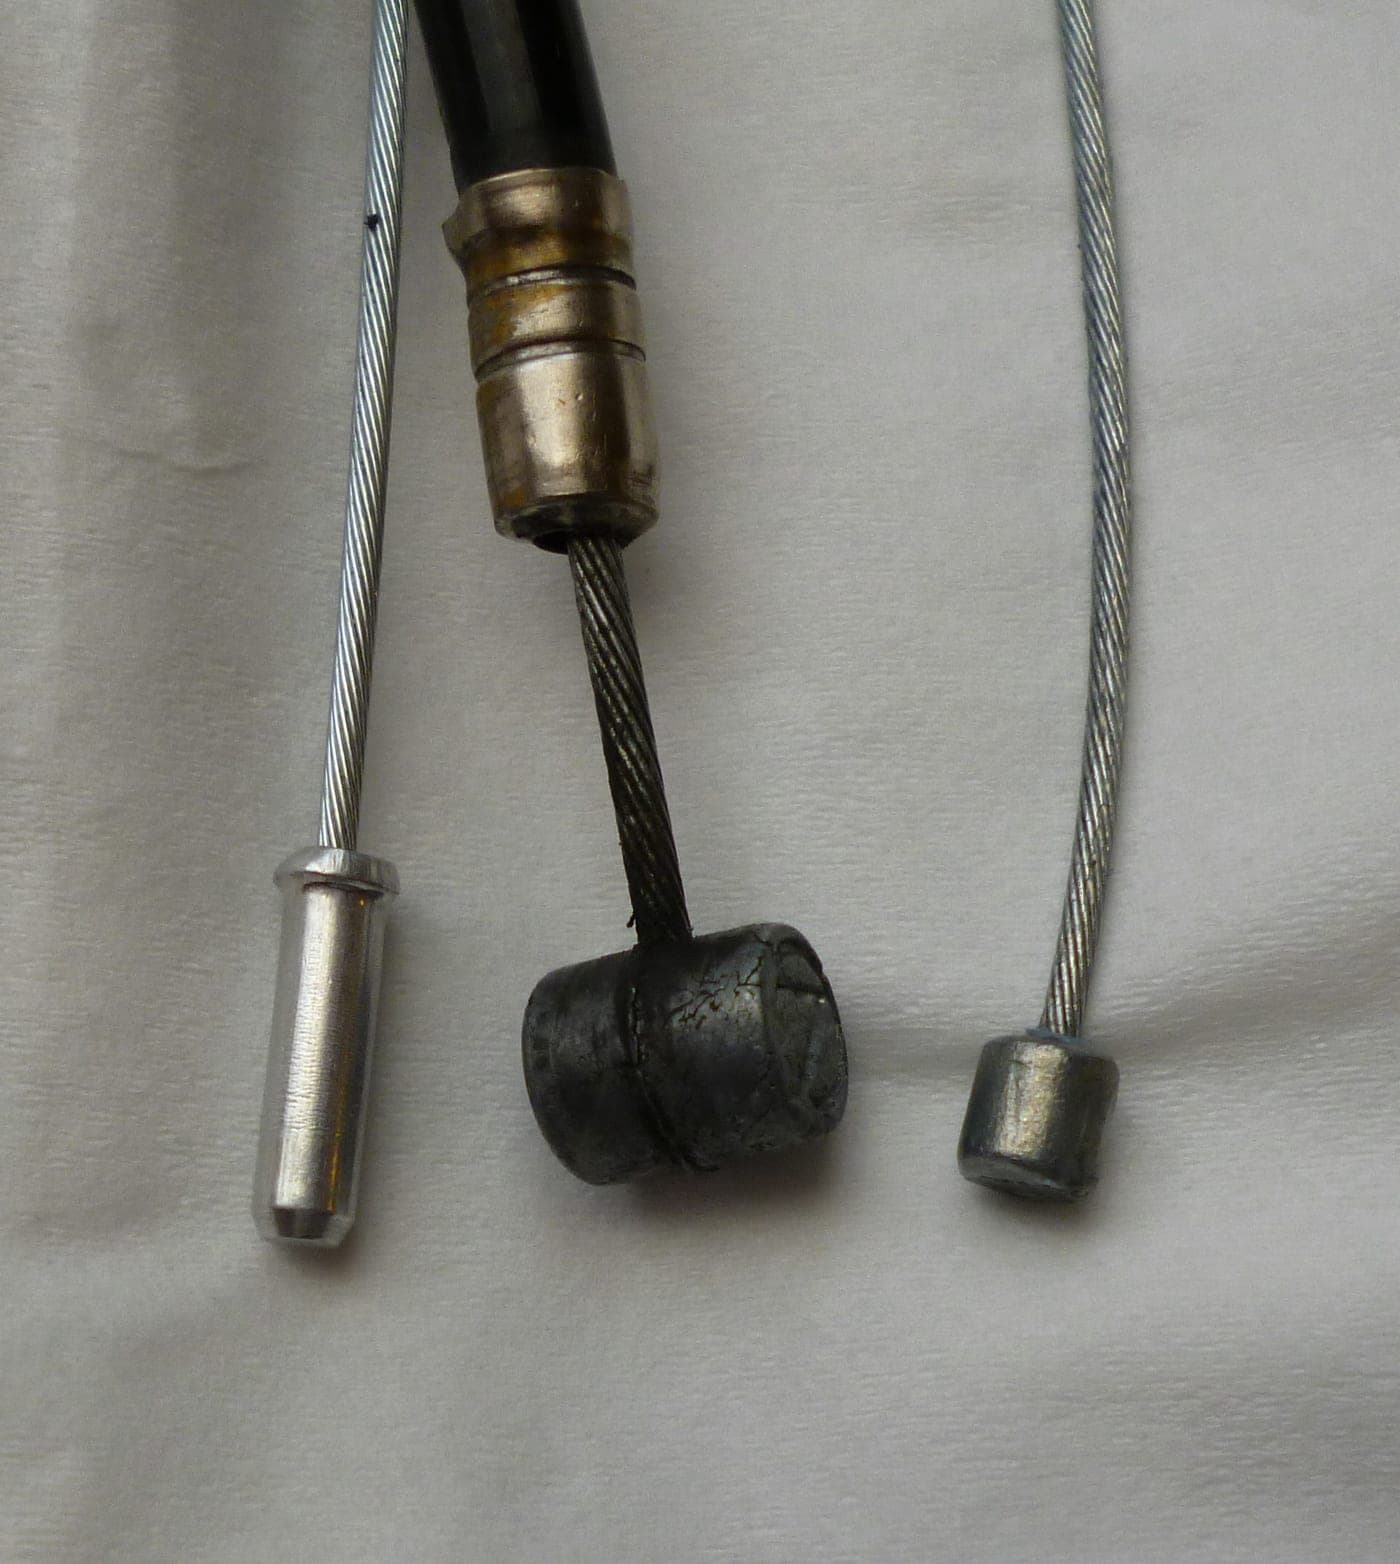
The photo shows three typical historical cable endings; it is not a modern compatibility chart. Left: cable with an end cap. Centre: a brake cable emerging from 5 mm housing. Right: a shift cable end.

Controlled replacement
Eleven checks for cable replacement
- 01
Freeze the original path
Photograph the shifter entry, every housing arc and segment, ferrule, frame stop, bare-cable guide, adjuster, internal port, clamp route and model marking before moving anything.
- 02
Identify the complete system
Confirm mechanical versus electronic, derailleur versus internal-gear hub, and the exact shifter and gear-mechanism models. Obtain their current cable and adjustment instructions.
- 03
Prove where movement stops
Operate the shifter while observing exposed cable and the gear mechanism. If the procedure permits, release tension safely and isolate shifter movement, each housing section, clamp security and mechanism return.
- 04
Qualify the replacement parts
Complete the compatibility check above. Do not interchange brake and shift cable/housing, guess the cable head, or assume every “universal” kit fits every hub, shifter or internal route.
- 05
Protect internal routing before withdrawal
Determine whether the frame has a continuous sleeve, removable liner, guide tube or open cavity. Attach the approved guide or routing tool first; do not sacrifice a known path to save a minute.
- 06
Release and retrieve the old inner wire
Select the model-specified low-tension position, remove only the required access cover, release the correct fixing bolt and account for the complete cable head and all broken strands. Stop if a fragment remains in the shifter.
- 07
Size and finish shift housing
Preserve correct steering and suspension movement, avoid sharp bends and rubbing, cut compressionless shift housing square with a purpose-made cutter, reopen the liner without damaging it and install the specified ferrules in the correct direction.
- 08
Thread without damaging the new cable
Seat the cable head exactly in the shifter, guide the wire through each housing and frame section, and keep coated or polished surfaces free from kinks, plier marks, contamination and unapproved lubricant.
- 09
Seat, clamp and torque exactly
Seat every housing end and adjuster, route the cable through the documented groove/side/washer order, apply only the published fixing torque and recheck the cable for clamp damage.
- 10
Index the correct system
For derailleurs, distinguish indexing from H/L travel limits and hanger alignment. For a hub, use its prescribed gear, alignment marks, cable-unit dimension or bell-crank procedure. Do not invent a shared adjustment sequence.
- 11
Contain the final test
With the bicycle stable, check full handlebar movement, permitted suspension travel, cable/housing seating and one shift at a time through the complete range. Confirm the chain cannot enter the spokes or frame before a cautious low-load ride.
Product gate
Products appear only after the failed path is known
Confirm current manufacturer specifications
$17.99 observedJagwire 1x Sport Shift Kit · UCK350
Prior record: one SRAM/Shimano-compatible rear derailleur—or a maker-permitted hub—with 2,300 mm inner wire and 2,200 mm housing. Reconfirm the current SKU, 4.0 mm housing, fittings and route length from the current manufacturer specifications.
Confirm fit before buying
Confirm current manufacturer specifications
$24.99 observedJagwire 2x Sport Shift Kit · UCK302
Prior record: a compatible front-and-rear SRAM/Shimano derailleur system with 1,500/2,300 mm inner wires and 2,700 mm housing. Reconfirm the current SKU, housing and fittings from the current manufacturer specifications.
Confirm fit before buying
Tool option
$48.95 observedPark Tool CN-10 cable and housing cutter
Housing replacement is confirmed; a clean square cut and cable-end crimp are required; the purchase is more sensible than shop service for the reader’s expected future use.
Confirm fit before buying
Special-case tool
$80.95 observedPark Tool IR-1.3 internal routing kit
The exact frame route supports its guide method; adjacent hoses/wires and carbon surfaces are understood; a known internal path can be preserved; cost is justified versus a shop.
Confirm fit before buying
Stop conditions
Stop before a cable problem becomes a wheel or frame problem
- The cable or chain can pull the derailleur into the spokes, tire, rim, frame, rotor, or wheel.
- Sharp cable strands, a broken cable head, or loose fragments remain inside the shifter or can injure a hand.
- An internal route could be lost, the frame access is unknown, or a guide would pass near an unverified hose, wire, battery, or carbon structure.
- The shifter, housing stop, frame guide, derailleur/hub clamp, hanger, wheel, axle, or gear mechanism is cracked, loose, bent, stripped, or badly corroded.
- The cable head, housing type/diameter, ferrules, lengths, route, fixing orientation, torque, or indexing procedure cannot be verified for the exact system.
- A stationary shift test cannot keep the chain contained or the steering/suspension movement pulls, kinks, unseats, or rubs the new cable path.
Technical references
The exact shifter, frame, and gear-mechanism manuals control the job
- Park Tool shift-housing sizing and installation — full, segmented and internal routing; housing length, cutting, ferrules and final movement checks.
- Park Tool drop-bar shift-cable replacement — one shifter family’s access, removal, cable-head seating and test boundaries.
- Shimano technical documents — model-specific cable, housing, end-cap, clamp-route, torque and adjustment instructions.
- Jagwire official downloads — available manufacturer catalogs and installation records. Before ordering UCK350 or UCK302, confirm the exact lengths and fittings in the latest manufacturer catalog; the older product details may no longer apply.
- Park Tool CN-10 and IR-1.3 — intended cable/housing cutting, end-cap crimping and internal-route support.
This guide uses published instructions, not hands-on testing. It cannot see hidden shifter fragments, prove a frame route, measure friction, identify every cable head, establish torque from a photograph, or replace the bicycle, frame, shifter, derailleur/hub, wheel, hanger, cable, housing, ferrule, tool or manufacturer instructions.