BBR · Zero-pinch tire installation
How to change a bike tire—without pinching the tube
The hard part is not getting rubber over a rim. It is preserving the rim-well slack, keeping the tube out of the bead, and proving the tire is centered before it has to contain full pressure.

Zero-pinch check
Is this tire ready for air?
Choose the tire system, then the exact problem you can see. The checker stops an unsafe inflation before the tube, bead, or rim has to contain pressure.
Step 1 of 2 · What tire system is this?
Fit record
Fill these fields before buying the tire or tube. “Looks about right” is not a dimension.
Six facts that make the installation a known system
| Record | What must match | Do not assume |
|---|---|---|
| Tire system | Traditional clincher with a separate inner tube | Tubeless and tubular need different procedures. |
| Bead-seat diameter | Same ISO / ETRTO diameter on tire and rim | Similar inch labels are not proof of fit. |
| Tube range | Printed range includes the tire width and diameter | Material, valve type, and valve length also matter. |
| Rim bed | Correct tape fully covers spoke holes and edges | No sharp burr, crack, failed tape, or exposed hole. |
| Pressure limits | Tire, rim, tape, and tube instructions recorded | Use the lowest applicable limit and a gauge. |
| Wheel retention | Quick release, thru-axle, nutted axle, or motor system known | Reinstallation follows the bike and component makers. |

Before the tire goes on
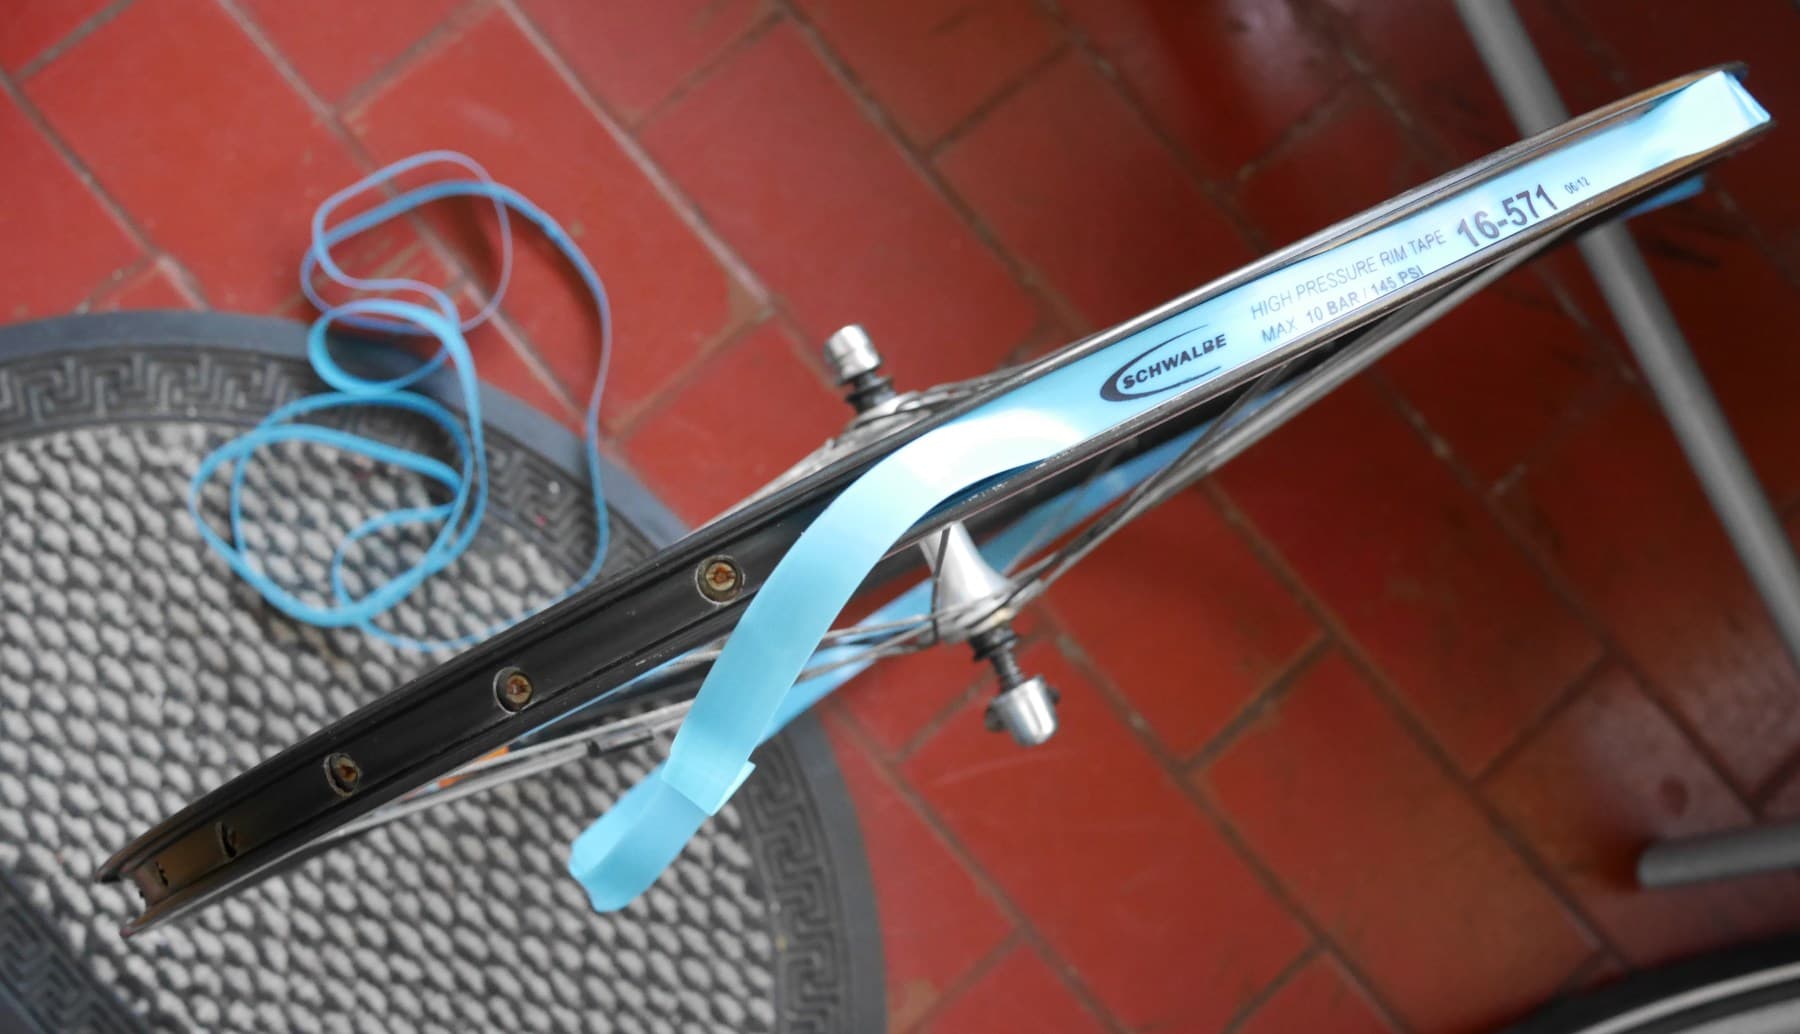
A new tire cannot hide a bad rim bed
Remove debris and inspect the full bead seat, valve hole, tape, spoke holes, and rim bed. Suitable tape must cover every required opening securely and match the rim, pressure, and tire system.
A crack, sharp burr, damaged bead seat, exposed spoke hole, or unresolved spoke problem is a stop condition—not something to bury under a tube and tire.
Traditional clincher workflow
Ten steps from wheel removal to stationary test
- 01
Identify the system and exact sizes
Read both tire sidewalls and the rim or wheel record. Confirm a traditional clincher, matching ISO/ETRTO bead-seat diameter, compatible tire width, tube range, valve, rim tape, and pressure limits.
- 02
Remove the wheel by its own procedure
Stabilize the bike. Follow the bicycle, brake, axle, hub, and motor instructions. With a disc brake, do not squeeze the hydraulic lever while the rotor is out unless the maker provides a pad spacer.
- 03
Deflate completely and release the beads
Remove or loosen only the valve hardware the maker specifies. Press out all air, then squeeze both tire beads away from the rim walls and toward the deepest central channel.
- 04
Lift one bead over the rim
Start opposite the valve. Try by hand first; if needed and permitted, use purpose-made plastic tire levers in small sections. Never use a screwdriver, knife, or other sharp fitting aid.
- 05
Remove the tube, then the tire
Pull the tube out starting opposite the valve, then lift the valve through the rim. Remove the second bead only if the tire is being replaced or needs full inspection. Keep the old tire and tube oriented if diagnosing a puncture.
- 06
Inspect every containment surface
Check tread, casing, bead, rim walls, rim bed, tape, spoke holes, and valve hole. Do not install over a sharp object, exposed cord, cut bead, bulge, crack, burr, or failed tape.
- 07
Fit the first bead and shaped tube
Install one tire bead. Add just enough air for the tube to become round, place the valve straight through the rim, and lay the tube inside the tire without twists or folds.
- 08
Mount the second bead with rim-well slack
Start opposite the valve and work both directions, keeping the mounted section in the rim's central well. Finish at the valve. Roll small sections over the flange; use a permitted plastic lever only as a last resort.
- 09
Run the 360-degree check before full pressure
Inspect both sides: no tube visible, valve at a right angle, bead line even, and no damage. Inflate to low pressure, inspect again, then continue within the lowest applicable limit using a gauge.
- 10
Reinstall and test while stationary
Seat the axle fully, secure it exactly as specified, reconnect any released brake, spin the wheel, and check retention, clearance, bead seating, and braking before a cautious ride.
Failure pattern → correction
Four signals to catch before full pressure
Last section feels impossible
Slack has escaped from the rim well.
Correct it: Fully deflate; squeeze the mounted bead into the central channel; start opposite the valve and finish at it.
Tube peeks below the bead
The tube is trapped in the containment interface.
Correct it: Deflate, unseat that area, tuck the tube fully inside, and inspect the whole circumference.
Valve leaves the rim at an angle
The tube may be twisted, shifted, or under tension.
Correct it: Deflate and reseat until the stem is straight; do not wrench-tighten a rim nut.
Molded bead line rises or dips
The tire is not centered or the fit record is wrong.
Correct it: Deflate to low pressure, center by hand, and stop if size, damage, or seating remains uncertain.
Why pinches become blowouts
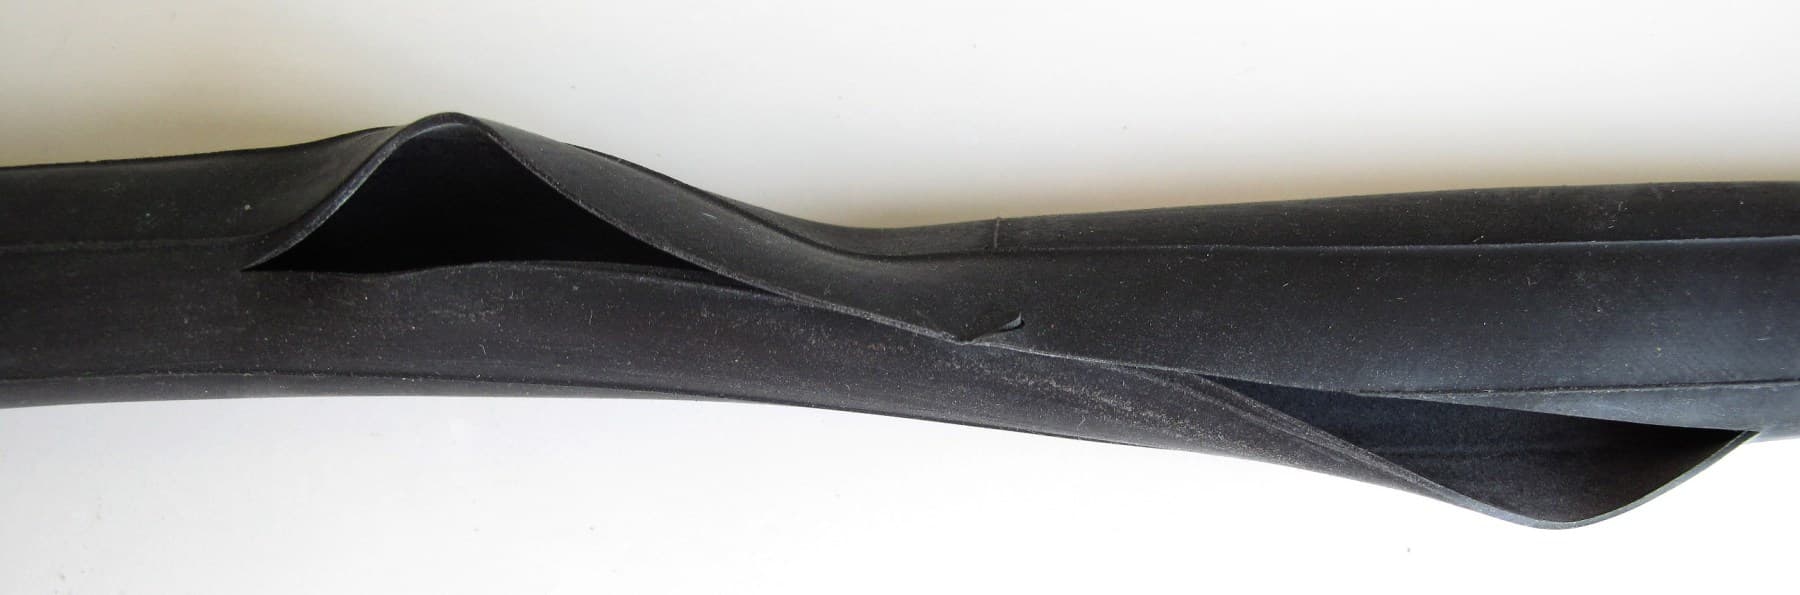
The tube should never be the bead's gasket
A visible tube edge can be cut as the bead seats or pushed outside the rim as pressure rises. The safe sequence is simple: deflate, free the tube, re-seat the bead, inspect both sides completely, add low pressure, inspect again, then approach the permitted pressure.
If a previous tube split suddenly, do not call it random bad luck. Recheck tube size, installation, pressure, tire containment, bead seating, rim, heat, and load before repeating the install.

Stop conditions
Do not use pressure to solve an unknown fit
- The tire and rim do not share the same bead-seat diameter, or the tire/rim maker does not approve the combination.
- The bead is cut, stretched, exposed, or will not remain seated; the casing bulges, shows cords, or has a large cut.
- The rim is cracked, bent, sharply burred, or damaged at the bead seat, valve hole, spoke hole, or brake track.
- Rim tape is shifted, torn, too narrow, unsuitable for the rim/system, or fails to cover every required opening.
- The wheel uses unfamiliar motor wiring, torque washers, axle hardware, internal gears, belt tension, or brake parts.
- The bead line cannot be made even at low pressure, the tube remains trapped, or safe pressure and retention cannot be verified.
Products and tools
One installation tool is qualified; fit-dependent parts stay blocked
Fits only when confirmed
$6.95Park Tool TL-1.2C tire lever set
Traditional clincher; plastic lever allowed by tire and rim makers; use by hand first; not an automatic clearance for tubeless, tubular, hookless, or unknown carbon-rim systems.
Confirm fit before buying
Fits only when confirmed
$16.99Foundation High Pressure Bike Floor Pump
Presta or Schrader valve; target within its 160 PSI maximum; gauge readable at the needed pressure; the lowest tire/rim/tape/tube limit is known.
Confirm fit before buying
Check exact fit
No universal systemBead-holding or bead-jack tool
Needs the tire and rim system, material restrictions, bead condition, maker-approved fitting aid, and proof that rim-well technique has been used. The Jenson bead-jack option checked was unavailable.
Confirm fit before buying
Check exact fit
Size record requiredReplacement tire and inner tube
Needs matching ISO/ETRTO diameter, permitted tire width, rim compatibility, tube range and material, valve type/length, pressure/load, and intended riding use.
Confirm fit before buying
Technical references
The actual tire and rim instructions always control
- Park Tool tire and tube removal/installation — full deflation, rim-center slack, lever limits, tube placement, bead inspection, and staged inflation.
- Schwalbe tire fitting FAQ — spoke-hole coverage, shaped tube, straight valve, opposite-valve start, difficult beads, centering, and hookless boundaries.
- Park Tool fit standards — ISO/ETRTO bead-seat diameter and tire, rim, and inner-tube compatibility.
- Park Tool wheel removal/installation — quick-release, thru-axle, nutted-axle, drivetrain, and brake considerations.
- REI flat-tire guide — traditional tube removal, cause inspection, tube insertion, bead checks, and wheel reinstallation.
This is a practical decision guide for a conventional clincher with a separate inner tube. It does not replace the bicycle, tire, rim, wheel, tube, tape, valve, brake, hub, motor, pump, or tool maker's instructions.