BBR · Recurring-flat diagnostic
Why your bike tire keeps going flat—and how to find the real cause
Another tube is not a diagnosis. Keep the failed air chamber, map where it leaked, and make the location eliminate the wrong causes before you buy anything.
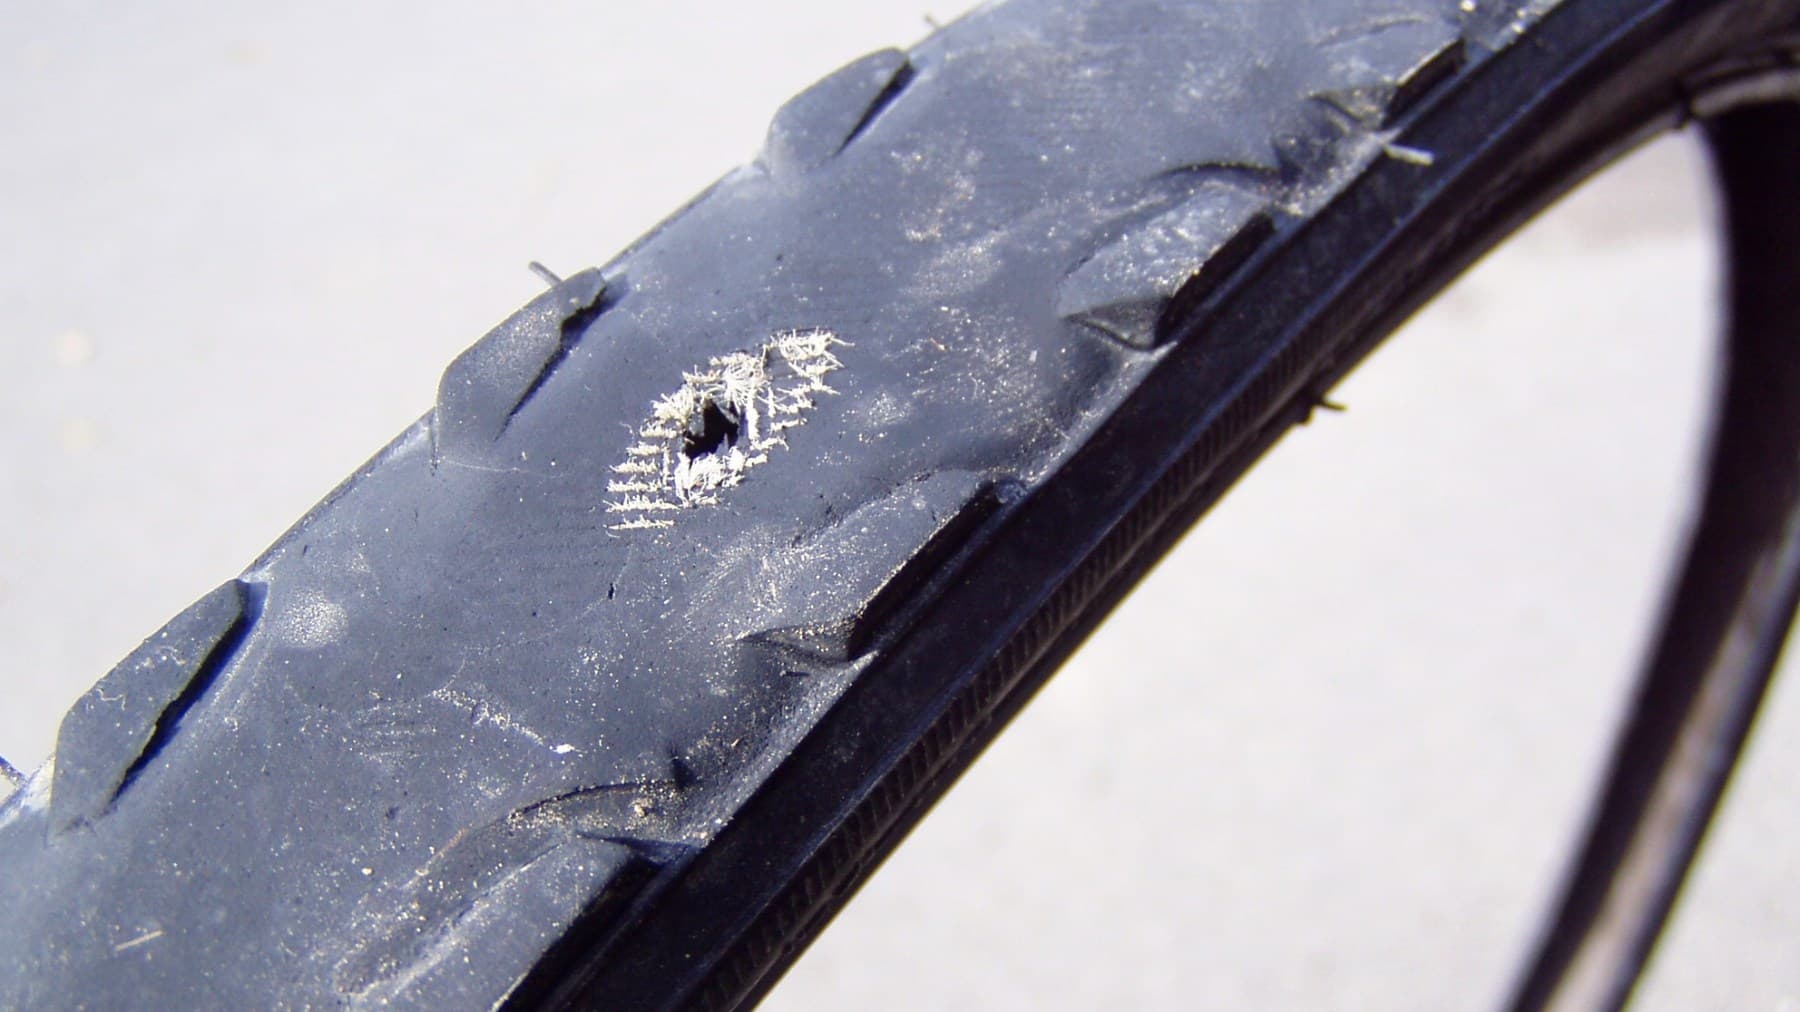

The flat autopsy
Use the failed air chamber as evidence
Do not discard the tube, wipe away all sealant, or separate the tire from its orientation until you have mapped where the air escaped. For tubeless, preserve the timing, inflation gas, and last service first.
Step 1 of 2 · Which system holds the air?
Time is evidence
“Keeps going flat” can mean five different timelines. Record which one actually happens.
When it loses air narrows what can be wrong
| Observed timing | Investigate first |
|---|---|
| Immediately after installation | Tube trapped under bead, twisted/folded tube, unseated bead, incompatible size, valve damage, overinflation, casing opening |
| After a curb, pothole, rock, or heavy load | Pinch flat, rim strike, casing damage, or pressure too low for load and conditions |
| Overnight or within 24–48 hours | Tiny tread puncture, valve/core leak, rim-side hole, poor patch, or tubeless valve/tape/bead leak |
| Predictable loss over days or weeks | Normal material diffusion or a very slow leak—measure pressure at the same temperature before deciding |
| Same wheel, repeatedly | Embedded object, tire casing defect, rim tape/burr/spoke issue, valve-hole edge, wheel-specific load, heat, or installation problem |
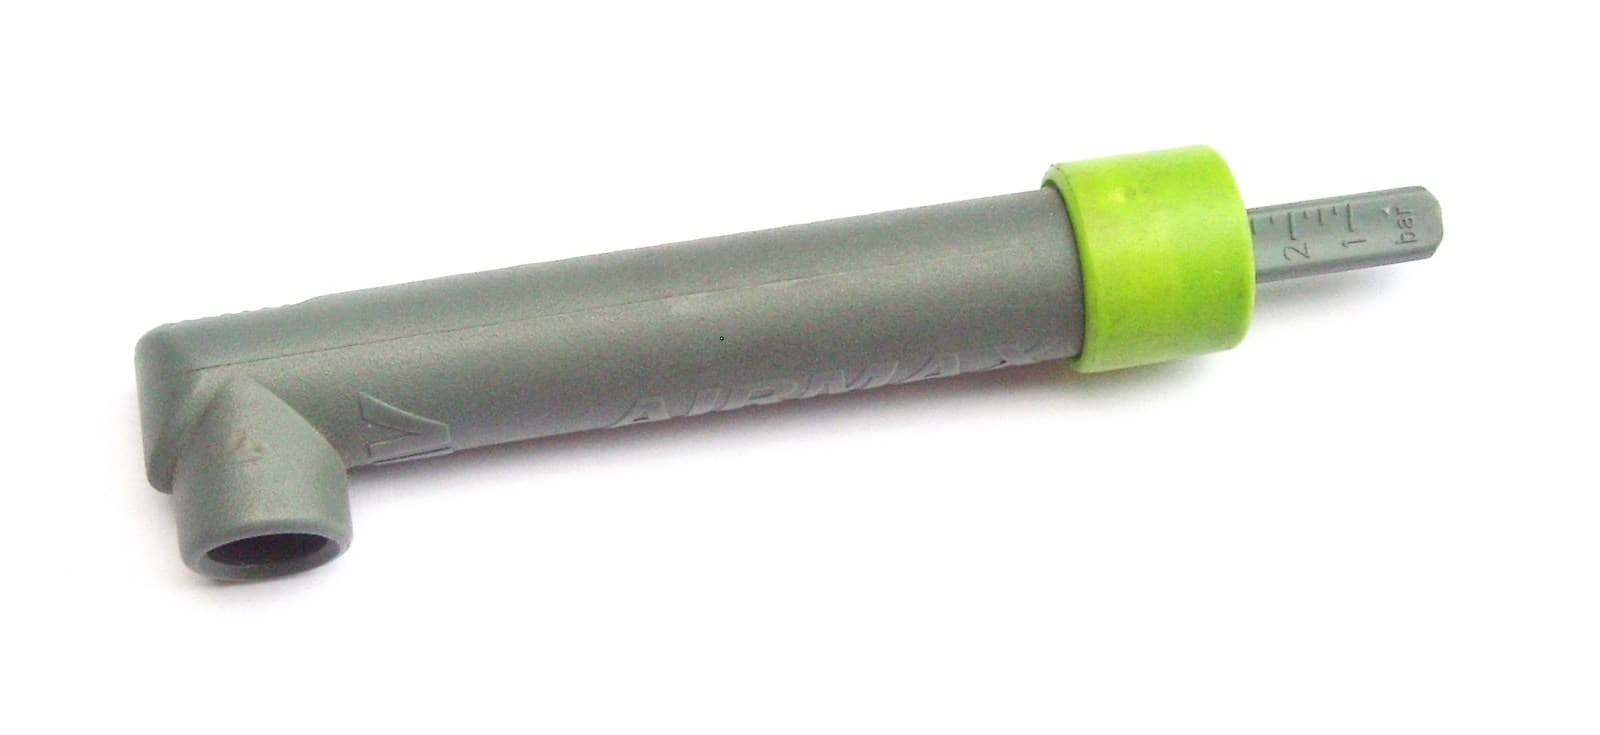

Normal loss or real leak?
Use a gauge and a 24-hour log—not your thumb
All bicycle tubes lose air through their material. Schwalbe says about 1 bar per month can be normal for conventional tubes, with faster loss at high pressure; latex tubes may need adjustment before every ride. That is very different from a butyl tube going flat overnight.
- 1. Confirm tube material and the permitted tire/rim pressure range.
- 2. Set and record cold pressure with a compatible gauge.
- 3. Recheck at the same temperature after 24 hours.
- 4. If loss is abnormal, locate bubbles at the tube, valve, bead, rim, or tubeless system.
Trace the leak
Eight steps before you sacrifice another tube
- 01
Do not destroy the evidence
Mark the tire at the valve and note its direction. Keep the tube aligned with the tire and rim when removing it. Photograph axle hardware, brakes, and valve orientation before disassembly.
- 02
Record the timing and pressure
Use a compatible gauge—not a thumb squeeze. Record cold pressure and temperature when inflated, when it first feels soft, and when it becomes unrideable.
- 03
Locate the exact leak
Add only enough air to give a tube shape, then listen, feel, or submerge sections as its maker permits. For tubeless, use approved leak-detection fluid around tread, valve, bead, spoke nipples, and rim joint.
- 04
Mark the side and shape
One tread-side hole, paired pinch marks, rim-facing damage, valve bubbles, a seam split, and broad tubeless seepage are different failure families.
- 05
Inspect the matching component
Map the tube hole back to the tire or rim. Flex tread cuts, inspect both beads and the full rim bed, and feel cautiously for fine wire or glass without cutting your fingers.
- 06
Fix the cause—not only the air chamber
Remove embedded debris, correct a permitted pressure/load issue, repair the exact rim-tape or valve system, or replace damaged/incompatible parts according to manufacturer instructions.
- 07
Reinstall without a new failure
Confirm size and system compatibility, keep the valve straight, avoid trapping the tube, seat both beads evenly, respect tire and rim pressure limits, and restore wheel retention and brakes exactly.
- 08
Run a hold test before riding
Inflate to a verified permitted pressure, inspect the bead and wheel, wait and remeasure. Perform stationary wheel-retention and brake checks before a cautious low-speed test.
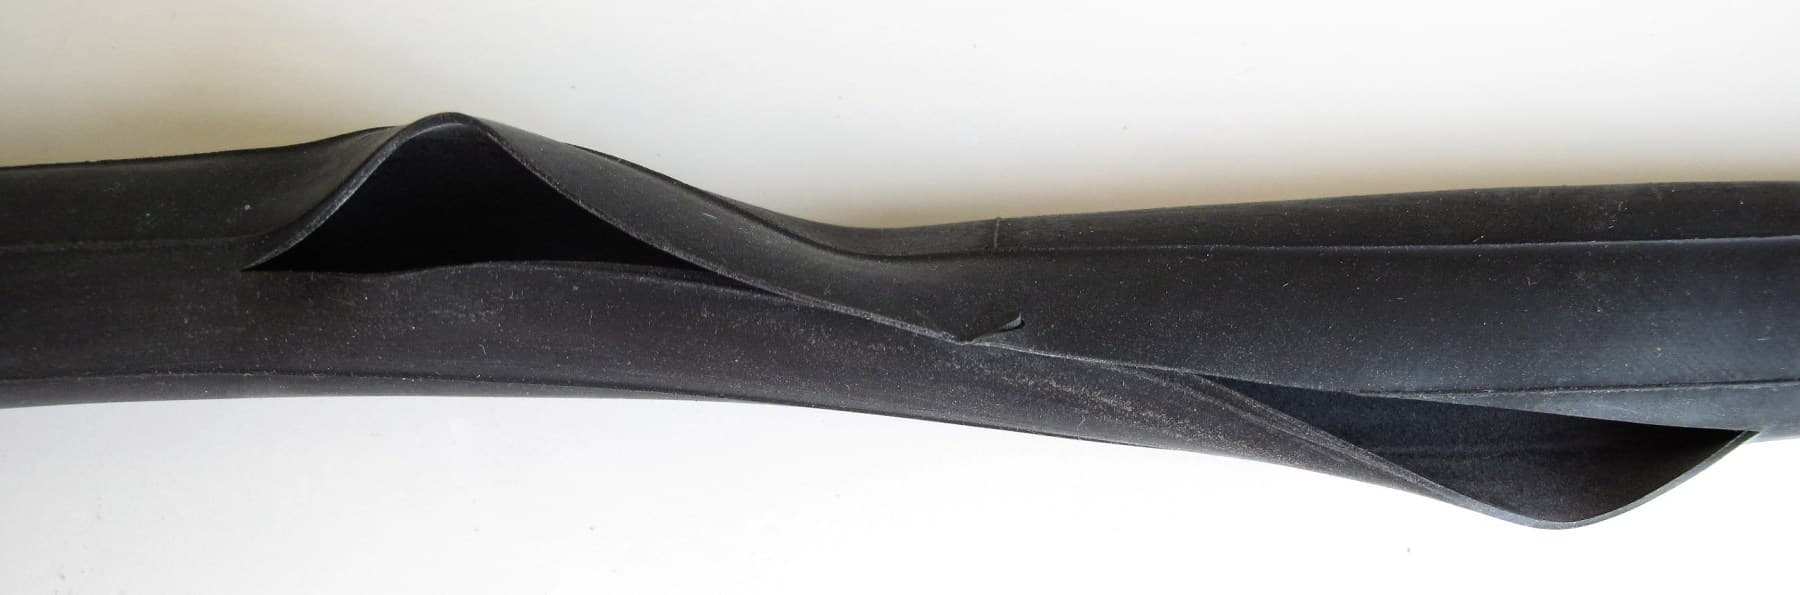
Blowout evidence
A split tube usually points beyond the tube
A long rupture can follow overinflation outside the tire, a tube trapped beneath the bead, a tire bead that escaped the rim, incompatible sizing, casing damage, pressure-limit error, or excessive heat. Replacing the tube without resolving containment can repeat the failure violently.
Do not recreate a blowout for diagnosis. Deflate, inspect the whole containment system, and verify the tire, tube, rim, tape, brake, pressure, and installation record.


Tubeless is a different map
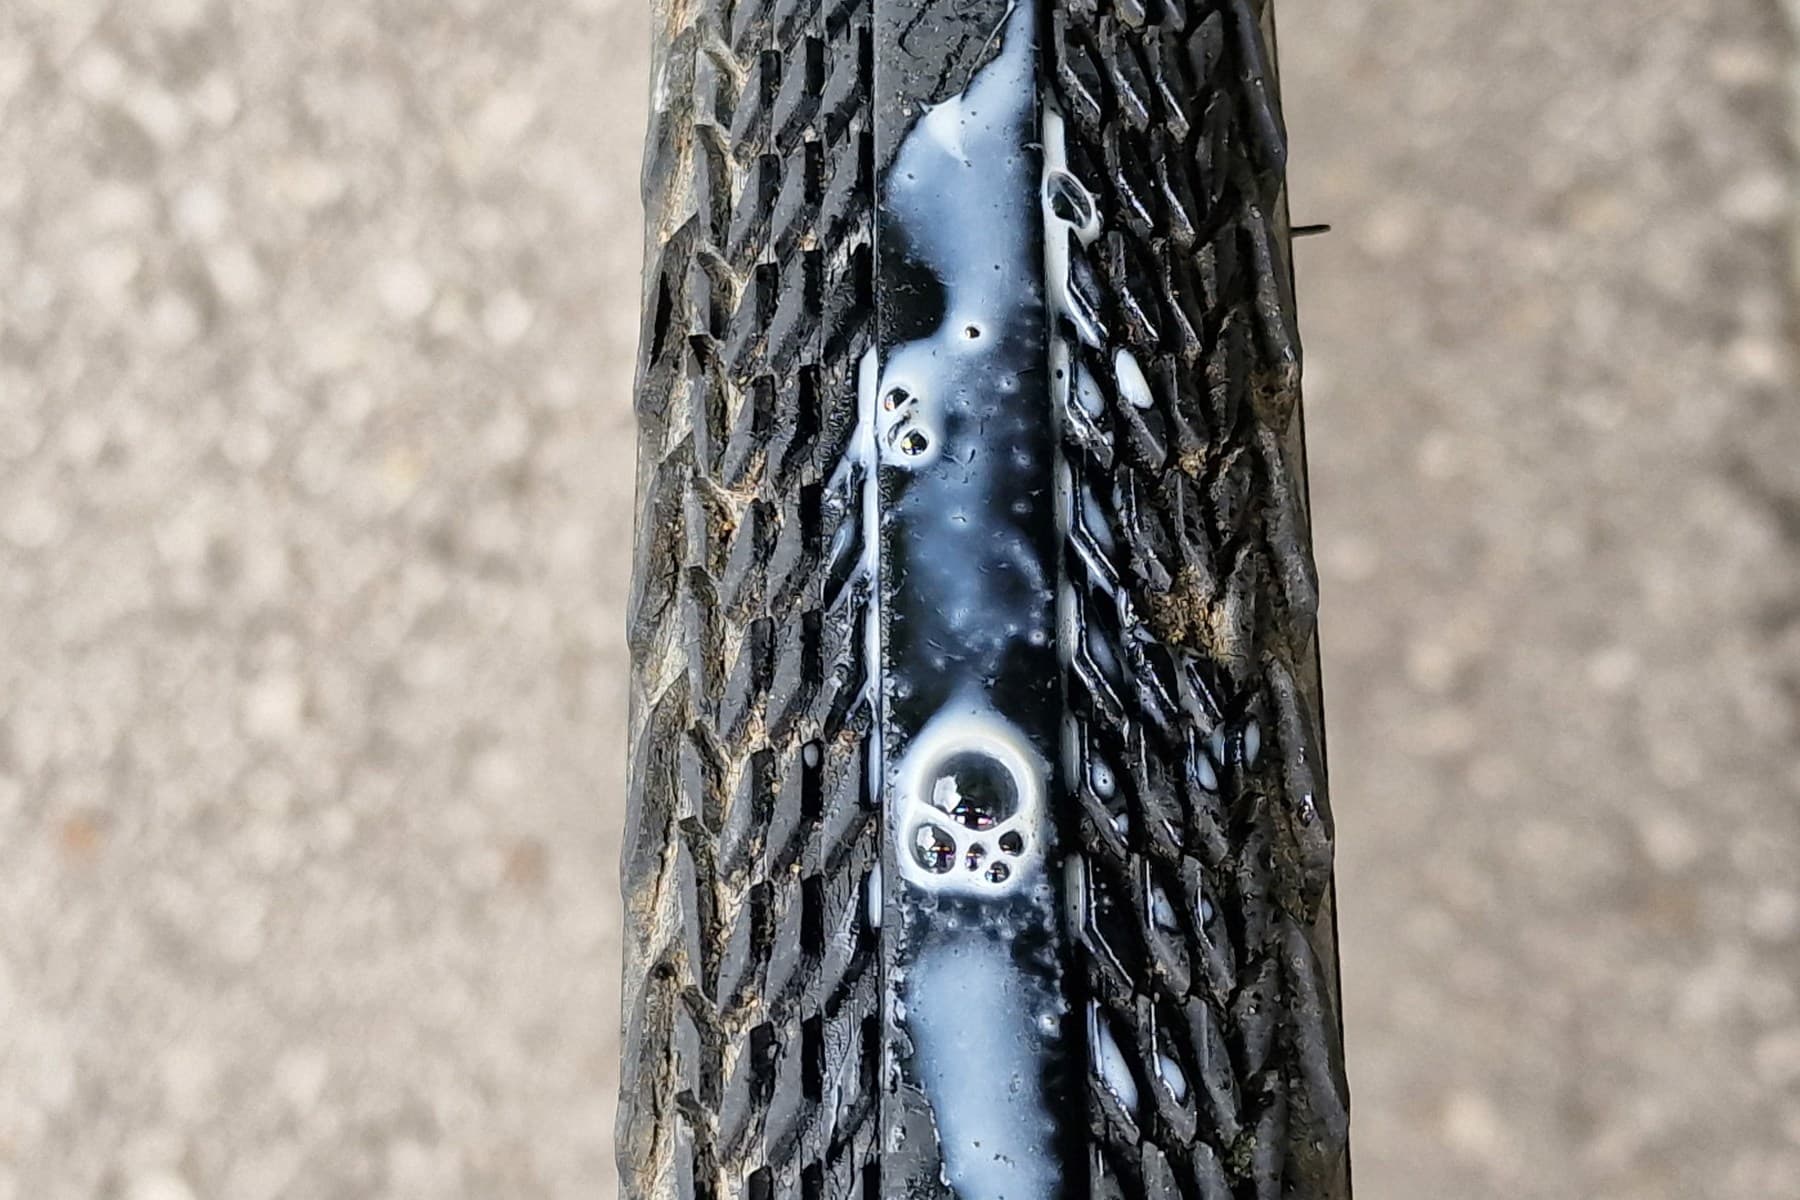
Tubeless tire losing air? The visible bubble may not be the original leak
A tread puncture can show sealant at the actual hole. Air emerging at a spoke nipple may have entered the rim cavity through damaged tape or the valve area elsewhere. Bead seepage, broad casing porosity, old sealant, a rim-joint defect, and structural damage require different decisions.
Before choosing the leak point, record whether the last fill used CO₂, whether the setup was recently disturbed, how quickly pressure fell, and whether the loss followed an impact. Those facts can change the first inspection without pretending that one loss percentage is normal for every system.
Use only a tire, rim, tape, valve, insert, and sealant combination approved together. Hookless pressure limits are system-specific, and adding more sealant cannot make bead or rim damage safe.
Stop conditions
A recurring flat becomes a containment problem
- The tire has a bulge, damaged bead, spreading cut, exposed casing cords, or will not seat evenly.
- The rim is cracked, bent, sharply burred, damaged at a spoke hole, or leaking through an unresolved structural path.
- A tube split suddenly, escaped under the bead, or failed after inflation without a confirmed installation cause.
- The permitted pressure for the tire, rim, tape, tube, insert, or hookless system is unknown or conflicts.
- The wheel-retention, brake, hub-motor wiring, torque-washer, internal-gear, belt, or enclosed-drivetrain procedure is uncertain.
- Air loss continues after the repair, the tire wobbles or bulges, or the brake/wheel check is abnormal.
Products and tools
Match the pump and repair parts to your bike
Fits only when confirmed
$16.99Foundation High Pressure Bike Floor Pump
Presta or Schrader valve; target within its 160 PSI maximum; gauge readable in the needed range; tire/rim pressure limits known. It measures and restores pressure—it does not fix a leak.
Confirm fit before buying
Check exact fit
Category from $1.94Replacement inner tube
Needs tire/rim ETRTO size, allowed tube-width range, valve type and length, rim valve hole, tube material, pressure, and system instructions.
Confirm fit before buying
Check exact fit
No universal widthRim tape
Needs rim internal width and profile, spoke-hole coverage, tube or tubeless use, layers, material, pressure rating, and rim/tape maker instructions.
Confirm fit before buying
Check exact fit
Diagnosis firstReplacement tire or tubeless parts
Needs tire/rim compatibility, ETRTO size, bead and hook/hookless system, pressure/load, valve, sealant, insert, intended use, and maker approval.
Confirm fit before buying
Technical references
Follow the actual tire and wheel system
- League of American Bicyclists flat-cause guide — punctures, pinch flats, tire damage, rim-side causes, and preserving orientation.
- Schwalbe tire-pressure FAQ — normal pressure loss, gauge use, and pressure boundaries.
- Schwalbe rim-tape FAQ — full spoke-hole coverage, width, and hollow-rim requirements.
- Schwalbe tubeless FAQ — valve, tape, bead, sealant, rim, and hookless system diagnosis.
- SRAM/Zipp tubeless troubleshooting — measured pressure-loss history, CO₂, sealant, valve, tape, and puncture branches; its numeric thresholds remain system-specific.
- e*thirteen sealing troubleshooting — why air visible at a nipple, seam, or valve can originate elsewhere in the sealed rim cavity.
- Park Tool inner-tube repair — locating and marking leaks, patch limits, and tire-boot boundaries.
This page is a practical decision guide. It cannot identify damage that has not been inspected and does not replace the bicycle, wheel, tire, rim, tube, tape, valve, sealant, brake, motor, hub, pump, or patch manufacturer's instructions.