BBR · Diagnosis-first tire repair
How to fix a flat bike tire—without causing the next one
The useful repair is not “put in a tube.” It is finding why the old one lost air, matching the damage to the right fix, and reinstalling the wheel and tire without a pinch.
Start with the leak
Find where the air escaped
Follow the damage
Match the hole to the right repair
Choose the next fix
Patch, replace, or stop safely
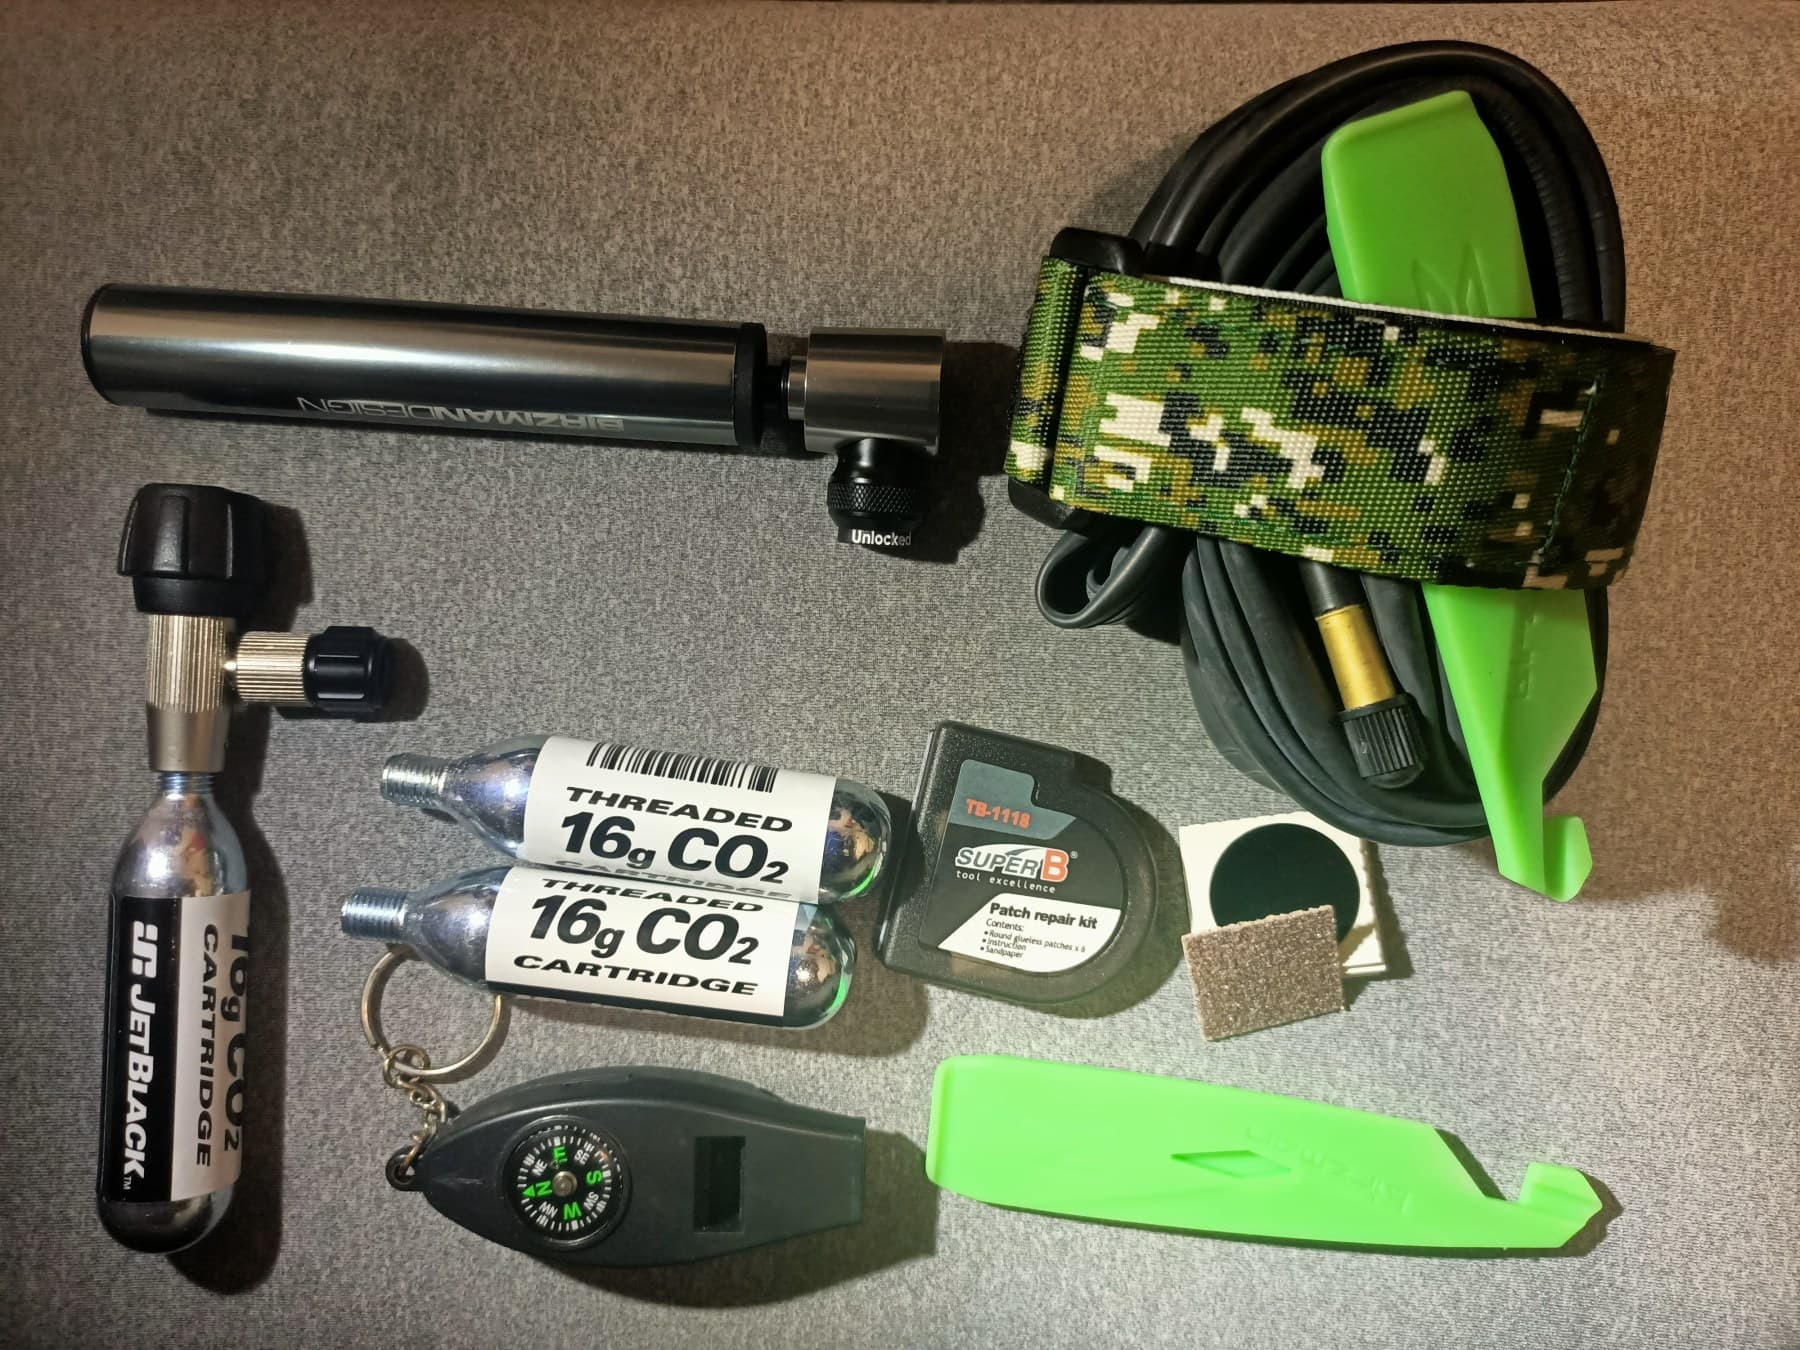

Patch, replace, or stop?
Diagnose the flat before buying the fix
This sorter is for a stationary bicycle. It clears a repair path only after the tire system and damage pattern are known.
Step 1 of 2 · What tire system is this?
Hole → cause
Keep the tube aligned with the tire. The side and shape of the hole are diagnostic evidence.
Map the leak before throwing the old tube away
| Tube pattern | Likely path | Before reinstalling |
|---|---|---|
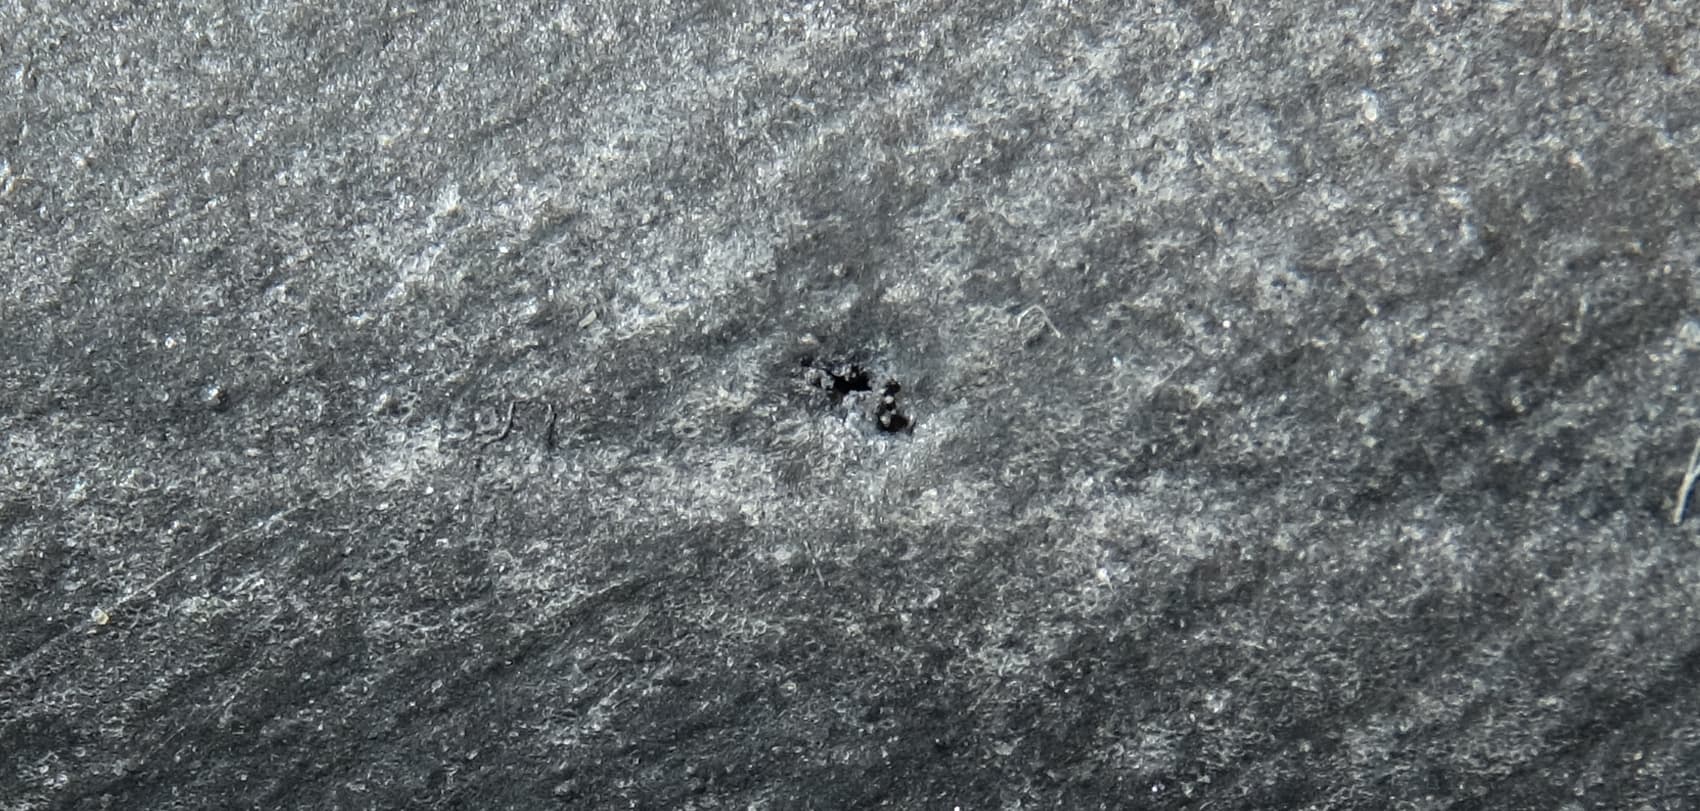
| Outer/tread side · one hole | Thorn, glass, wire, stone, or other tread puncture | Mark the location; inspect and clear the matching tire area. |
| Two parallel holes | Pinch flat from tire/rim impact | Inspect tire and rim; correct permitted pressure, load, or impact cause. |
| Rim-facing side | Shifted rim tape, spoke hole, burr, or spoke/nipple problem | Repair the rim-side cause before fitting another tube. |
| At the valve base | Valve movement, misalignment, underinflation, or tube damage | Replace the tube; inspect valve hole, installation, and pressure practice. |

Patch versus replace
The hole is only half the diagnosis
Patch option
Small, clean puncture; away from valve and seam; compatible tube material; sound tire, bead, rim, and tape; cause removed.
Replace tube
Valve-base damage, large tear, long split, brittleness, uncertain material, or damage the patch cannot fully cover.
A pre-glued patch is useful for a fast field repair; a correctly used vulcanizing patch is the more durable conventional-tube path. The patch kit maker's material and cure instructions always win.
Traditional tube workflow
Eight steps that prevent the repeat flat
- 01
Identify the tire and wheel
Confirm a traditional clincher tire with a separate inner tube. Read the wheel-removal procedure first, especially for hub motors, axle nuts, internal gears, enclosed chains, or unfamiliar brakes.
- 02
Remove the wheel safely
Put the bike in a stable position, release the correct brake only when required, and keep track of axle hardware. Never squeeze a hydraulic-disc lever with the rotor removed unless the maker provides a spacer.
- 03
Fully deflate and unseat one bead
Remove the valve cap and retaining nut if present, release all air, and squeeze the tire bead into the rim’s central channel. Use purpose-made plastic tire levers if hand removal is not possible—never a screwdriver or knife.
- 04
Remove the tube without losing orientation
Start opposite the valve, pull the tube out gently, then remove the valve. Keep tire and tube aligned so the leak can be traced back to the tire or rim.
- 05
Find and remove the cause
Add only enough air to reveal the hole. Listen, feel, or use water if the tube maker permits. Inspect the corresponding tire and rim location, then check the rest of both surfaces.
- 06
Patch or replace
Patch only a small compatible puncture away from valve and seam, following the kit’s surface-prep and cure instructions. Replace for valve damage, large tears, uncertain material, brittleness, or severe damage.
- 07
Install without pinching
Add a little air so the tube holds shape. Insert the valve straight, place the tube fully inside the tire, and work the bead on without trapping the tube beneath it. Avoid levers for the final installation unless the tire/rim maker permits them.
- 08
Seat, inflate, and recheck
Inspect both sides all the way around: no tube visible, bead line even, valve straight. Inflate in stages within the tire and rim makers’ limits, reinstall the wheel to the exact retention and brake procedure, then perform a stationary brake and wheel check.
Rim-side flats
A new tube cannot cover an exposed spoke hole
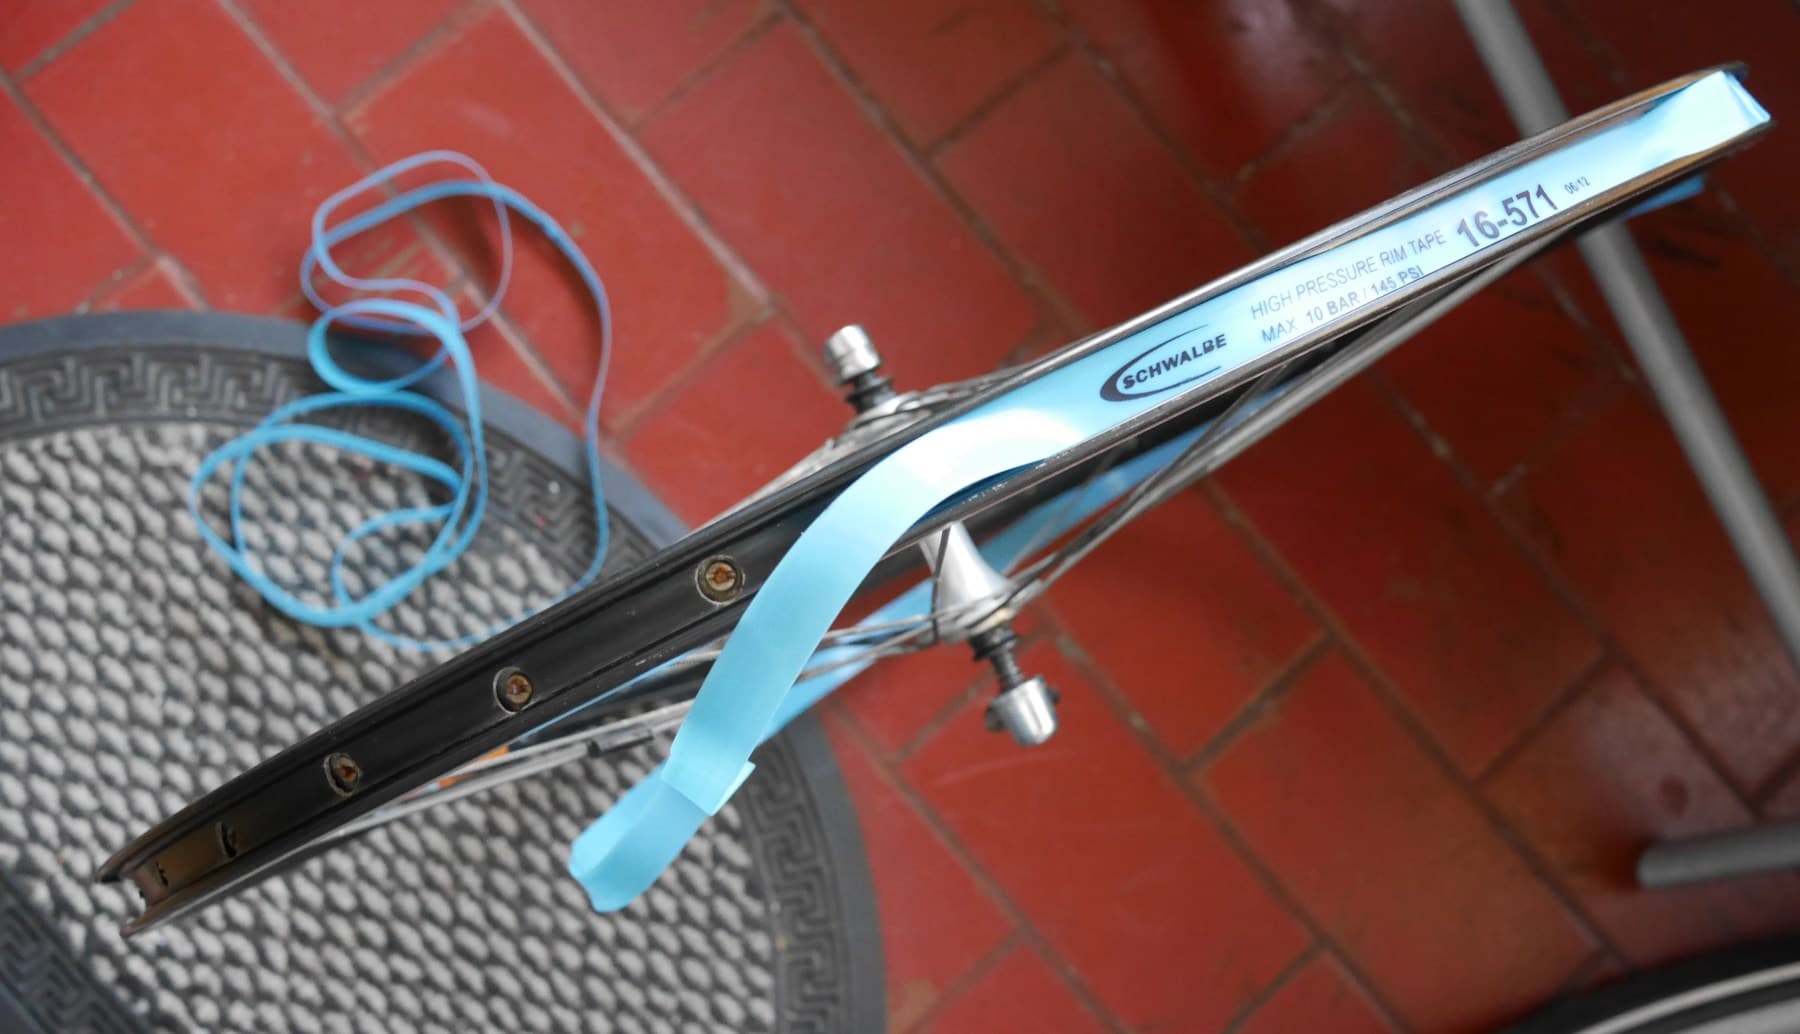
Rim tape shields the tube from spoke holes and other rim-bed edges. If a hole faces inward, inspect the whole rim bed for tape that is shifted, torn, too narrow, incorrectly sized, or unsuitable for the pressure and rim.
Do not hide a cracked rim, sharp structural damage, or a loose spoke problem under new tape. Those need the rim or wheel maker's procedure and, when uncertain, a bicycle mechanic.

Stop conditions
Do not test an uncertain tire at riding speed
- The bead is damaged, the casing bulges, cords show, or a large cut cannot safely contain the tube.
- The rim is cracked, bent, sharply burred, damaged at a spoke hole, or has an unresolved tape or spoke problem.
- Wheel removal involves unfamiliar motor wiring, torque washers, axle hardware, internal gears, belt/chain tension, or brake parts.
- The tire is tubular, the system is tubeless and its correct repair is unknown, or the tube material is uncertain.
- The wheel will not seat fully, retention cannot be verified, the brake does not work normally, or the tire will not seat evenly.
- The repair loses air, creates a bulge or wobble, or needs pressure beyond a tire, rim, tape, or wheel limit.
Technical references
Use the component record for the actual wheel
- Park Tool tire and tube removal/installation — traditional clincher removal, levers, tube placement, bead seating, and inflation checks.
- Park Tool inner-tube repair — puncture location, surface preparation, patch types, and tire-boot limits.
- REI flat-tire guide — cause inspection across the tire, tube, valve, rim, tape, and spokes.
- Schwalbe tube finder — size and valve matching for that manufacturer's current tube range.
- Park Tool fit standards — ETRTO/ISO tire, rim, and inner-tube dimensions.
This is a practical decision guide. It does not replace the bicycle, wheel, tire, rim, tube, tape, valve, brake, motor, hub, patch, or pump manufacturer's service instructions.